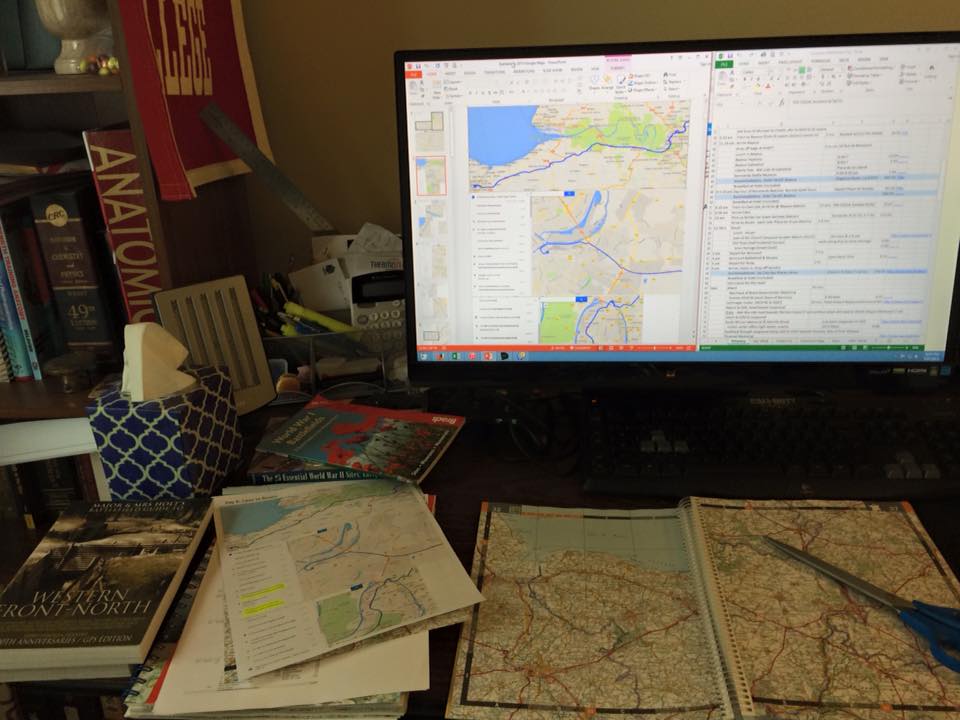
Wanting to plan a trip but need a little help? This isn’t the only way to do it, but I just happened to get a great airfare deal and figured I’d document my planning as I went along in a Step-by-Step Guide.
This isn’t just for historical trips – it works for any kind of travel!
How it all began: An airfare deal I couldn't pass up!
With Chicago O’Hare as my local airport, it’s probably not surprising that United Airlines is my go-to airline of choice. The company is headquartered in the Sears, ahem, Willis Tower downtown and O’Hare is their largest hub.
Because of this, I sometimes get great deals on flights and can go just about anywhere I want to go with United. I’ve always had great service with them and I tend to bounce between Gold & Platinum status with them depending on how much I travel for work and leisure any given year.
This is not a paid endorsement – I just really like them and I value brand loyalty! So when I got an email from United saying there was a one day sale for their 40th anniversary of the Mileage Plus program I had to jump on it.
Step 1: Pick a Destination
I didn’t have too many criteria. The main thing I wanted was somewhere I could be mostly outdoors. National Parks are always a solid option, but I didn’t necessarily need that.
Only certain airport combinations were included in the sale, which was to book a one-way flight for 4,000 award miles. 4,000 miles! The lowest I’ve ever seen for a domestic flight is 12.5K!
Going through the Chicago routes on sale, Norfolk, Virgina (ORF) stood out to me. That’s a prime spot to hit up Colonial America. Done. A nonstop round-trip ticket for 8,000 miles (4K each flight) and $11 in taxes and I was set.
Step 2: Where to stay?
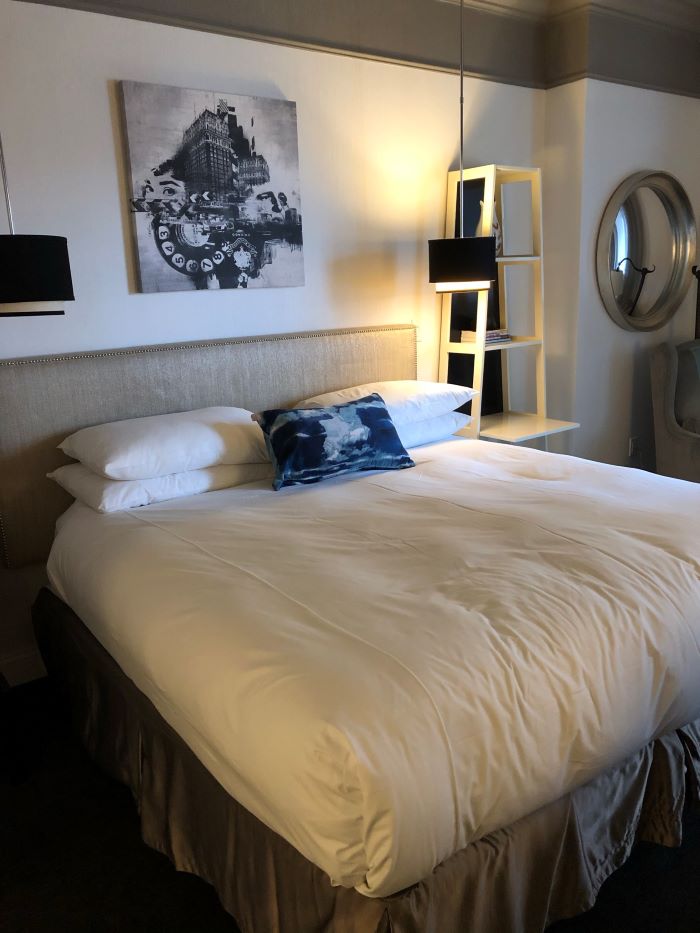
The next step was to find reasonable accommodation in a location that would give me broad access but not break the bank. Similar to my United brand loyalty, I’m also a Marriott fan and try to stay at their properties when I can.
I started my search on the Marriot site to see what was in the area. I had a free night stay available from being a Marriott credit card holder, so I used that certificate to book a “fancy” property at the end of the stay (it more than pays for the annual fee!).
For the remaining nights I found a SpringHill Suites, which is perfect – they tend to be pretty spacious and have a kitchenette, so I can get some groceries to supplement meals and avoid eating take-out for a full week.
I went with one that was also convenient to the interstate so I figured it should be easy to get around. The hotel is a 25-30 minute drive to the Colonial sites, but it was nearly half the price of closer hotels, and I was going to be renting a car anyway, so I booked it.
Step 3: Transportation

Unless I know I’m staying put in a big town, I generally expect I’ll be renting a car. There were several options at the Norfolk airport so that step was easy.
I have a credit card that includes full coverage on can rentals in the US and many countries (not Ireland or Italy – so I do purchase cover there!), so I didn’t take out any extra coverage on the car. In my 20+ years of travel, I’ve only ever had to file one claim of damage and they were very good about taking care of it.
Once I plan out the sights, I’ll go through and download maps on my phone so I can navigate in the car or on foot even if I lose my signal.
Side note for international trips: driving on the left in the UK and Ireland can be a little imtimidating but I suggest giving it a try! You can usually pay extra for an automatic transmission if you don’t want to add shifting gears to the complexity.
Step 4: Location Scouting & Scheduling
This is my favorite part! For this trip, I know I want to visit Colonial sites. I was pretty sure that would be a big part of the local tourism, so I just started by looking at websites and collecting information, hours, admission, etc.
- Colonial Williamsburg
- Yorktown
- Historic Jamestown
- Pinterest (I used the search terms of the 3 sites above to find trips others had taken)
- Tripadvisor (mostly for dining recommendations & other activities in the area to make sure I didn’t miss something cool nearby!)
Step 5: Tickets & Reservations (where needed)
This isn’t something you’ll necessarily need to do on every trip, but sometimes it’s easier (and cheaper!) to buy tickets in advance. Some tours, restaurants, events, etc are reservation only, so you might have to book that in advance to make sure you can see it.
One word of caution: I wouldn’t buy too many specific tickets in advance unless it’s something you think may sell out or it has a really big discount. As much as I love to plan & spreadsheet trips, leaving some flexibility will keep you from getting too tied to timing or schedules. You want wiggle room to change plans on the fly. For example. it might rain the day you were going to the park, so make that your museum day. You’ll have it all in the plan, so you can swap things in and out as needed!
Also check for discounts online. I googled “discount tickets to Historic Triangle” and found a Virginia tourism board promotion for 10% off a multi-site pass! Be mindful of scams, but this seemed pretty legit, so I bought it.
Step 6: Packing
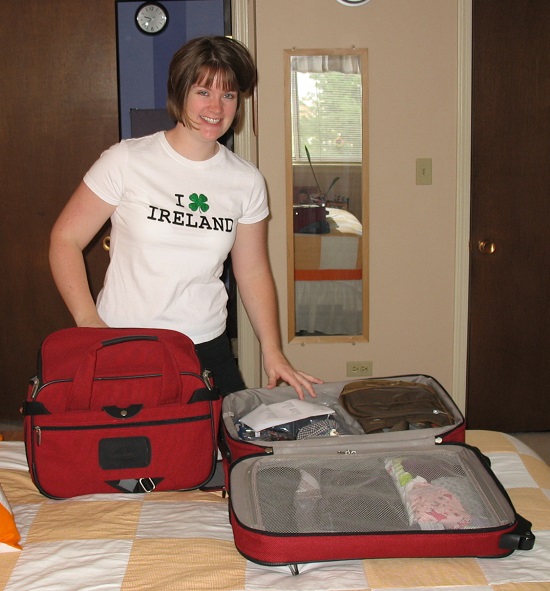
I usually start going through my packing list the weekend before a trip just in case I need to run out and get anything special (or do laundry!).
Otherwise, I always keep a travel toiletries bag and electronic cable organizer packed and ready to go. It’s so much handier than trying to remember what to grab every time.
I try to pack as light as possible with layers and mix/match pieces that can be worn more than once. Don’t forget to leave room for souvenirs!
Enjoy your trip!

Be sure to drop me a line and let me know how your trip goes!

